Survey Theme
Read the article to learn how to change your survey's theme and create custom themes. Understand how to make your survey look exactly how you want it to appear to respondents by creating customized survey themes.
Click 'Theme'
Theme Name
Select Font
Question Color
Answer Color
Button Color
Background Color
Background Image
Fix Overlay
Logo
Header Text
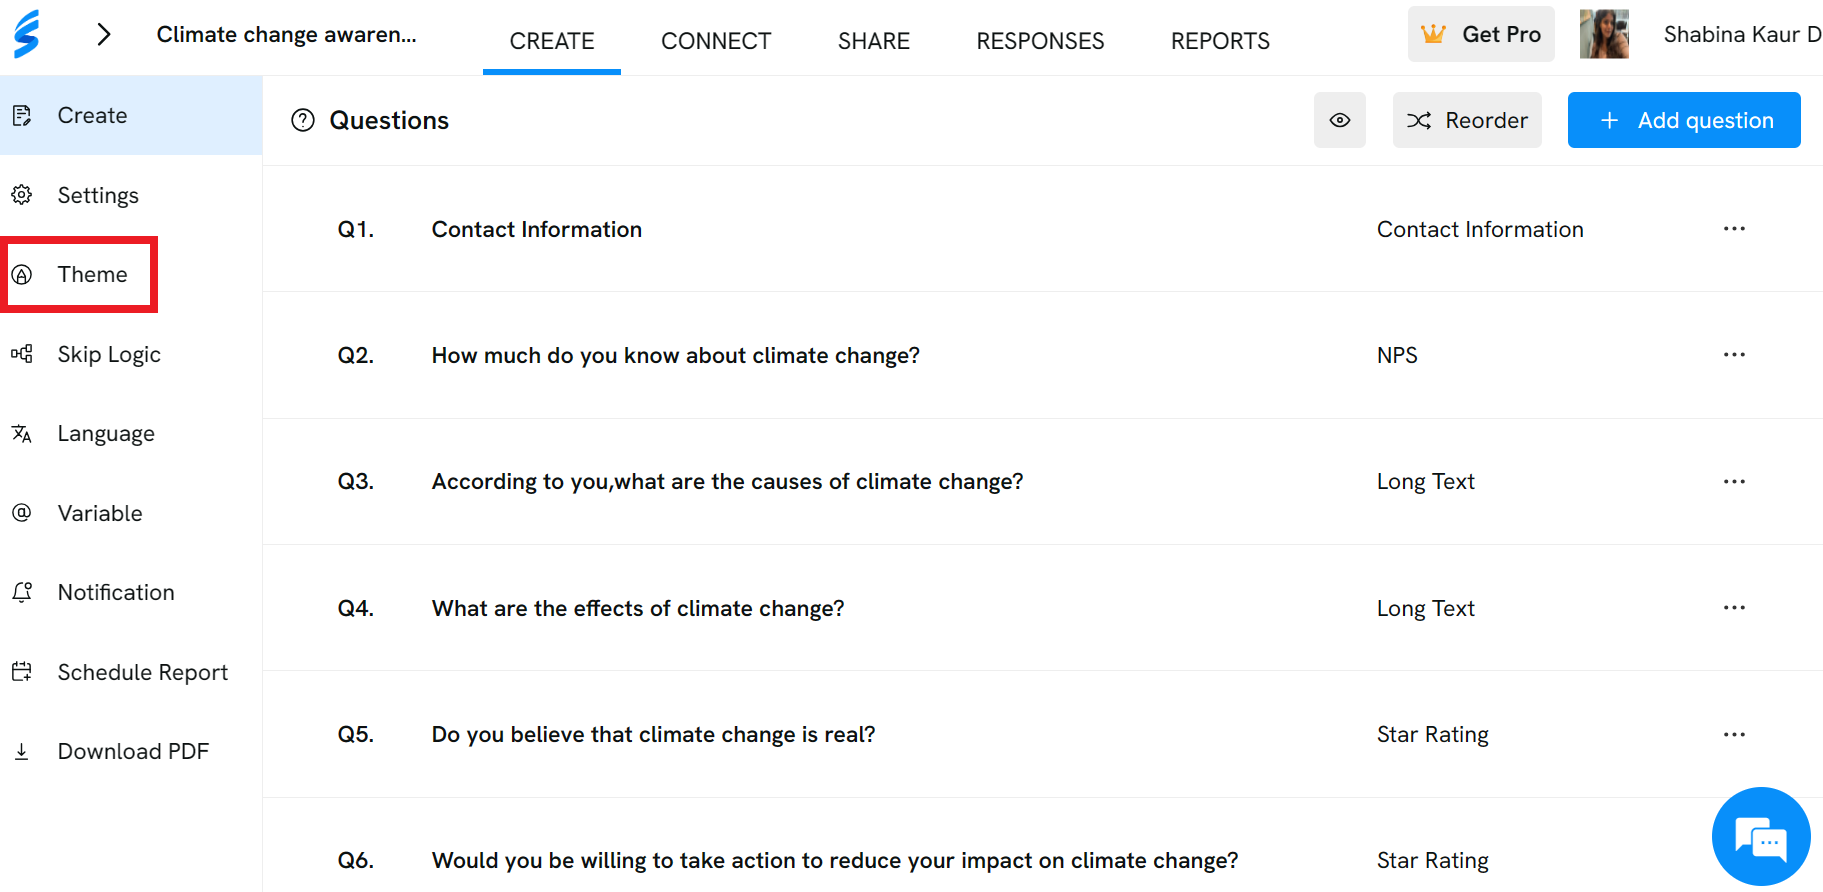
Click 'Theme'
First click 'Theme' on the left hand side panel as shown.
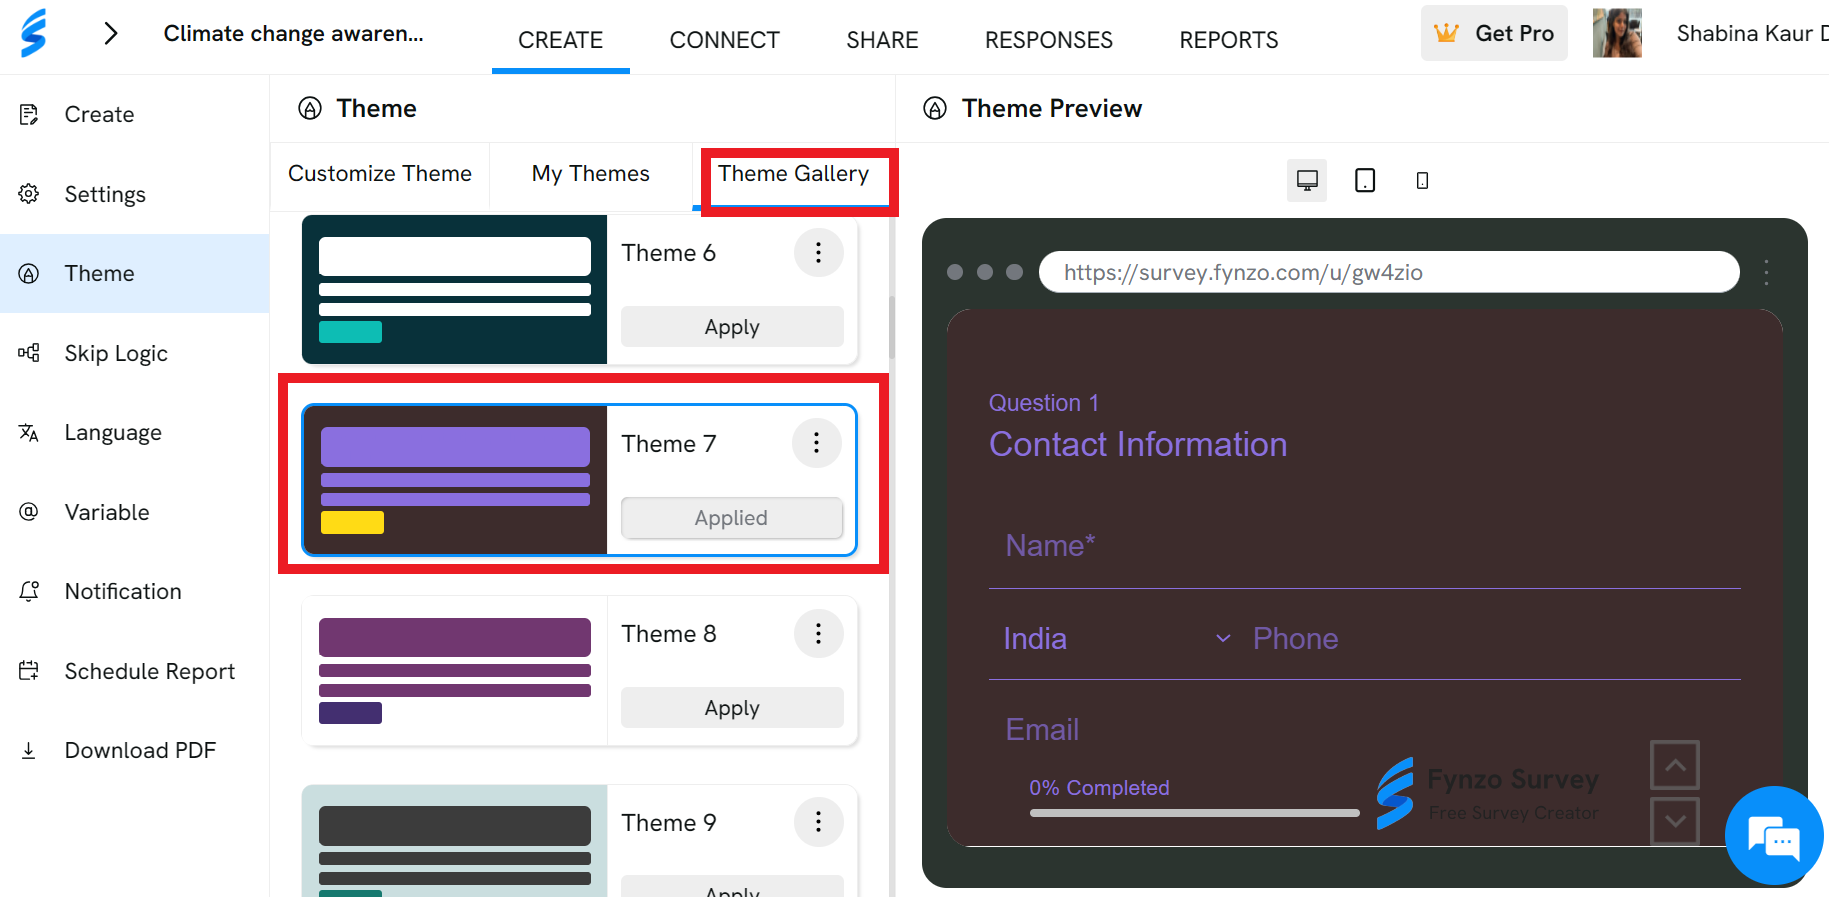
Theme Gallery : Use these pre-existing themes.
These are already created themes that you can find by clicking 'Theme Gallery' and then clicking on 'Apply' and you can preview the same in the right hand side Theme Preview.
Create your own theme!
If you did not like any of the existing themes and you would like to create your own themes, follow the below steps:
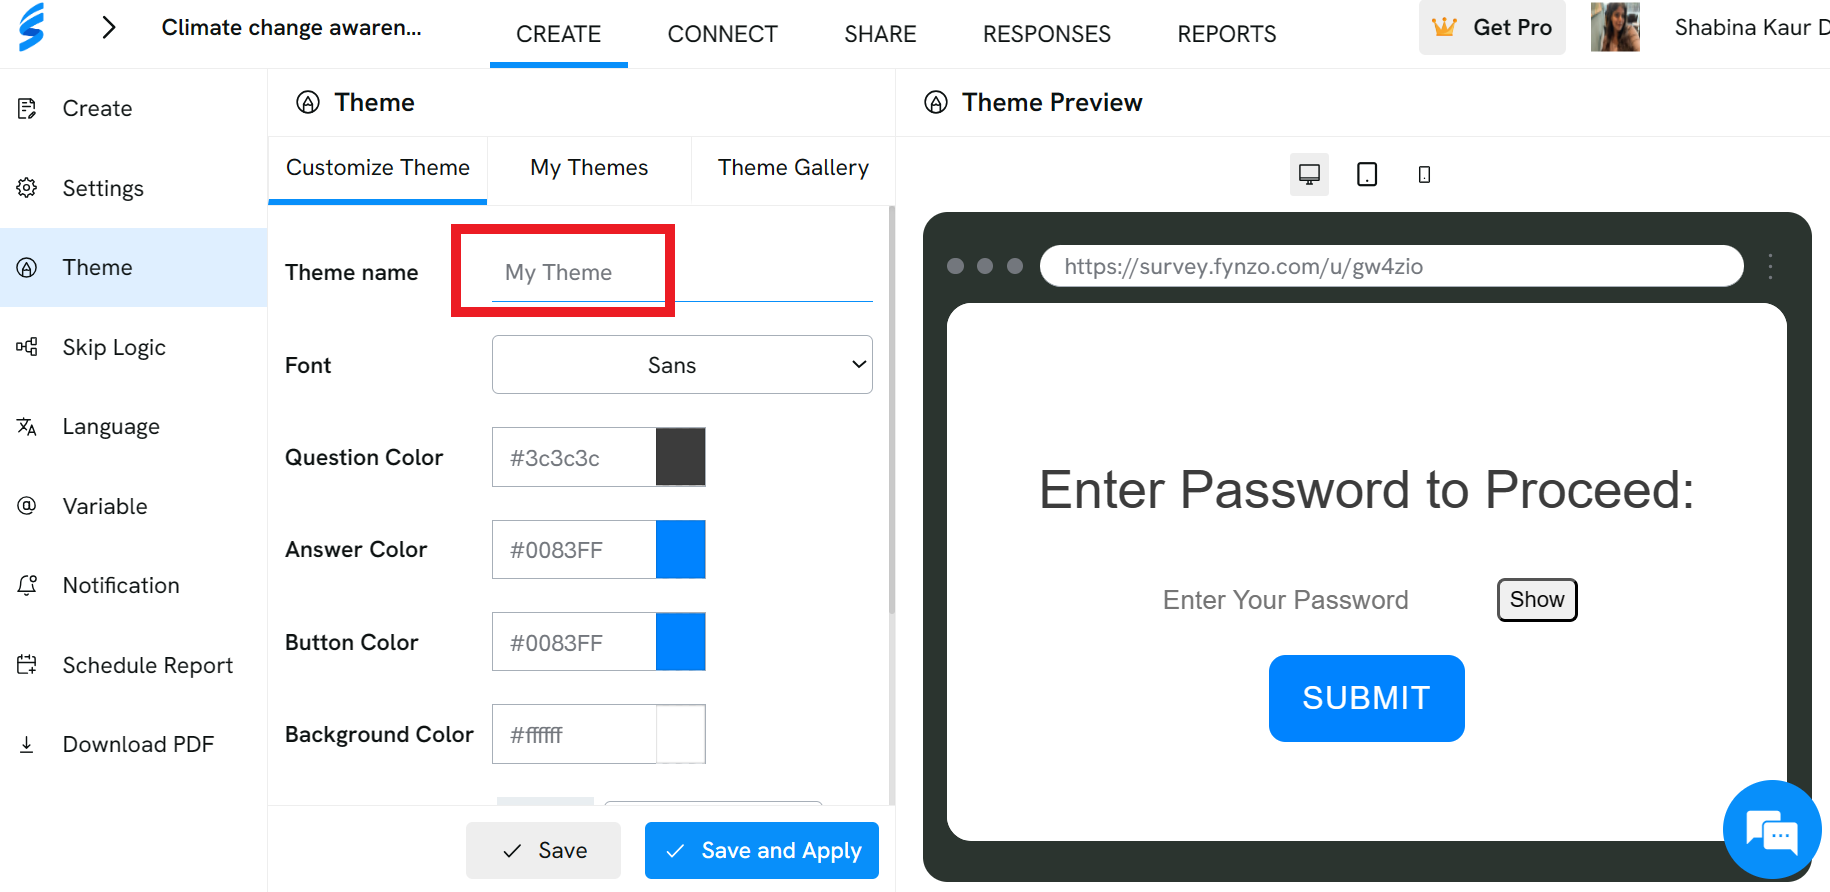
Theme Name
Give name to your theme by entering in the Theme Name field as shown.
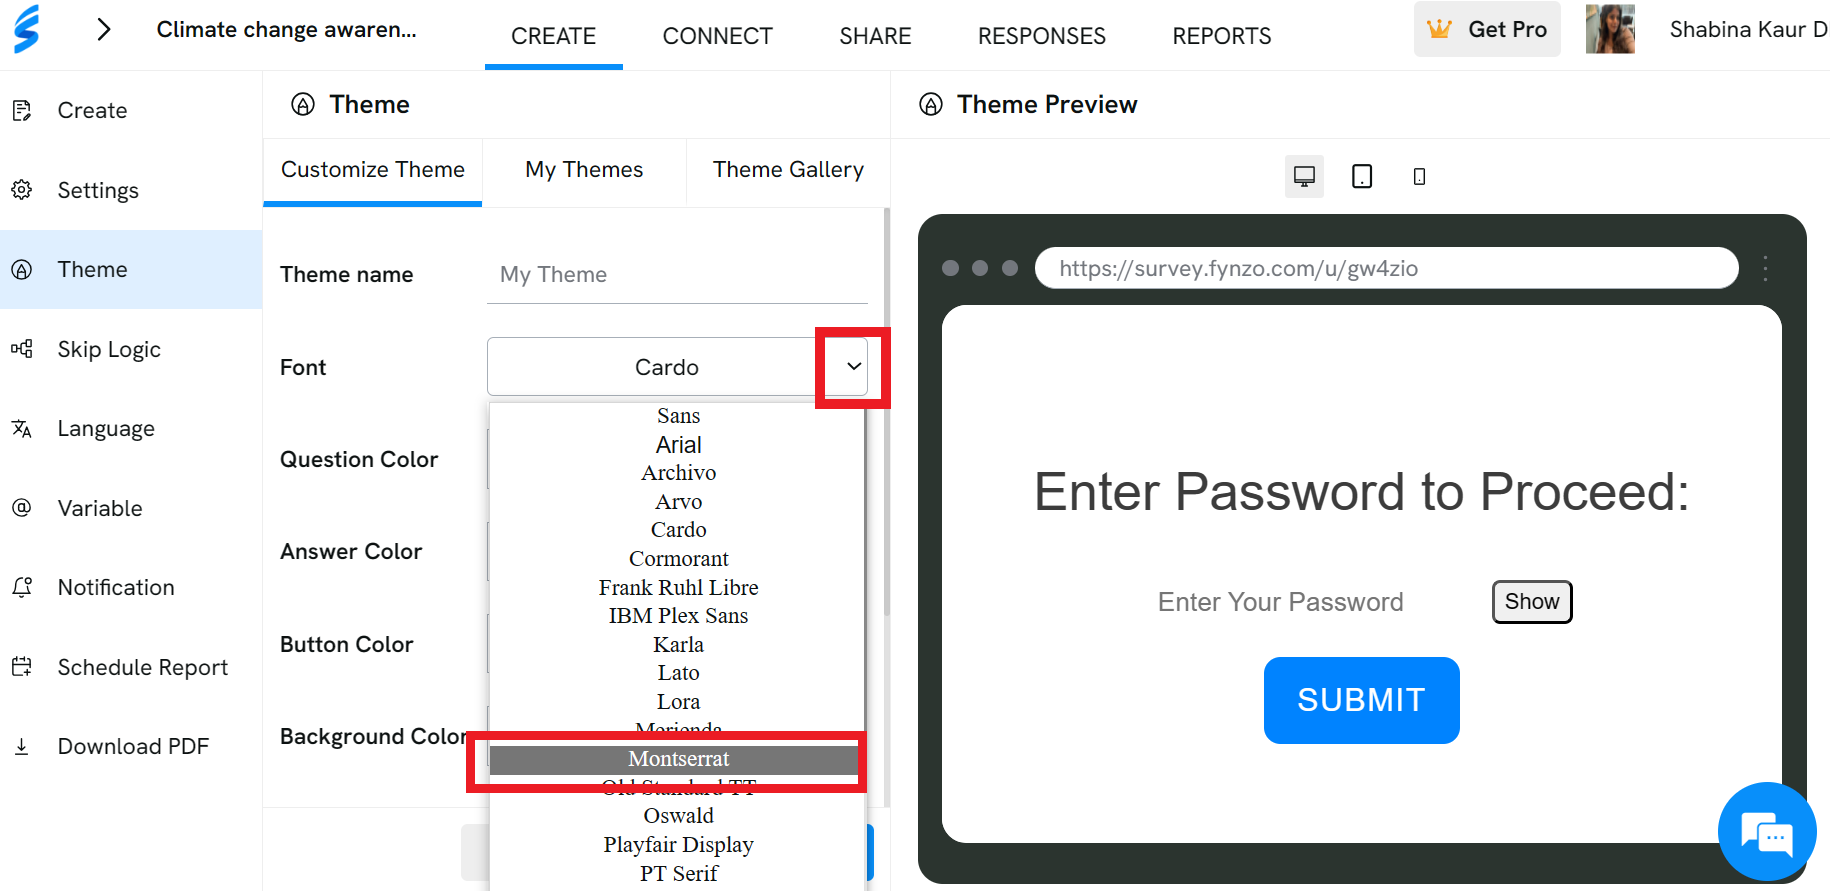
Select Font
You can select any Font style from the list by clicking on the dropdown icon.
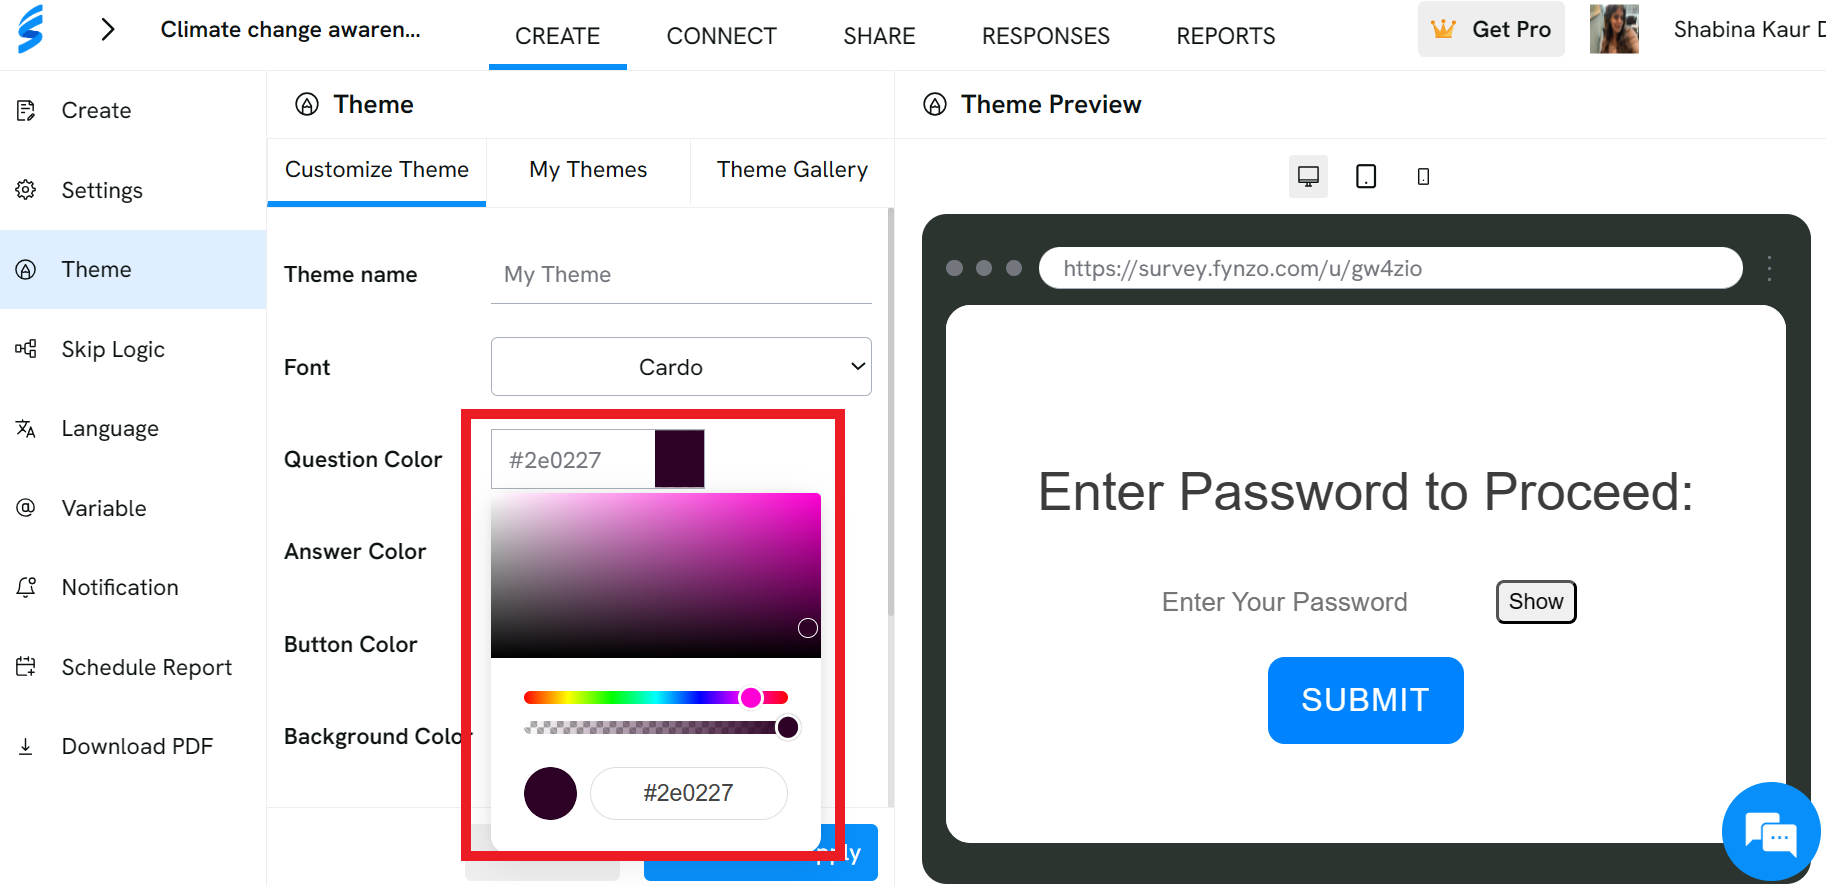
Question Color
You can select any Question Color from the given color options.
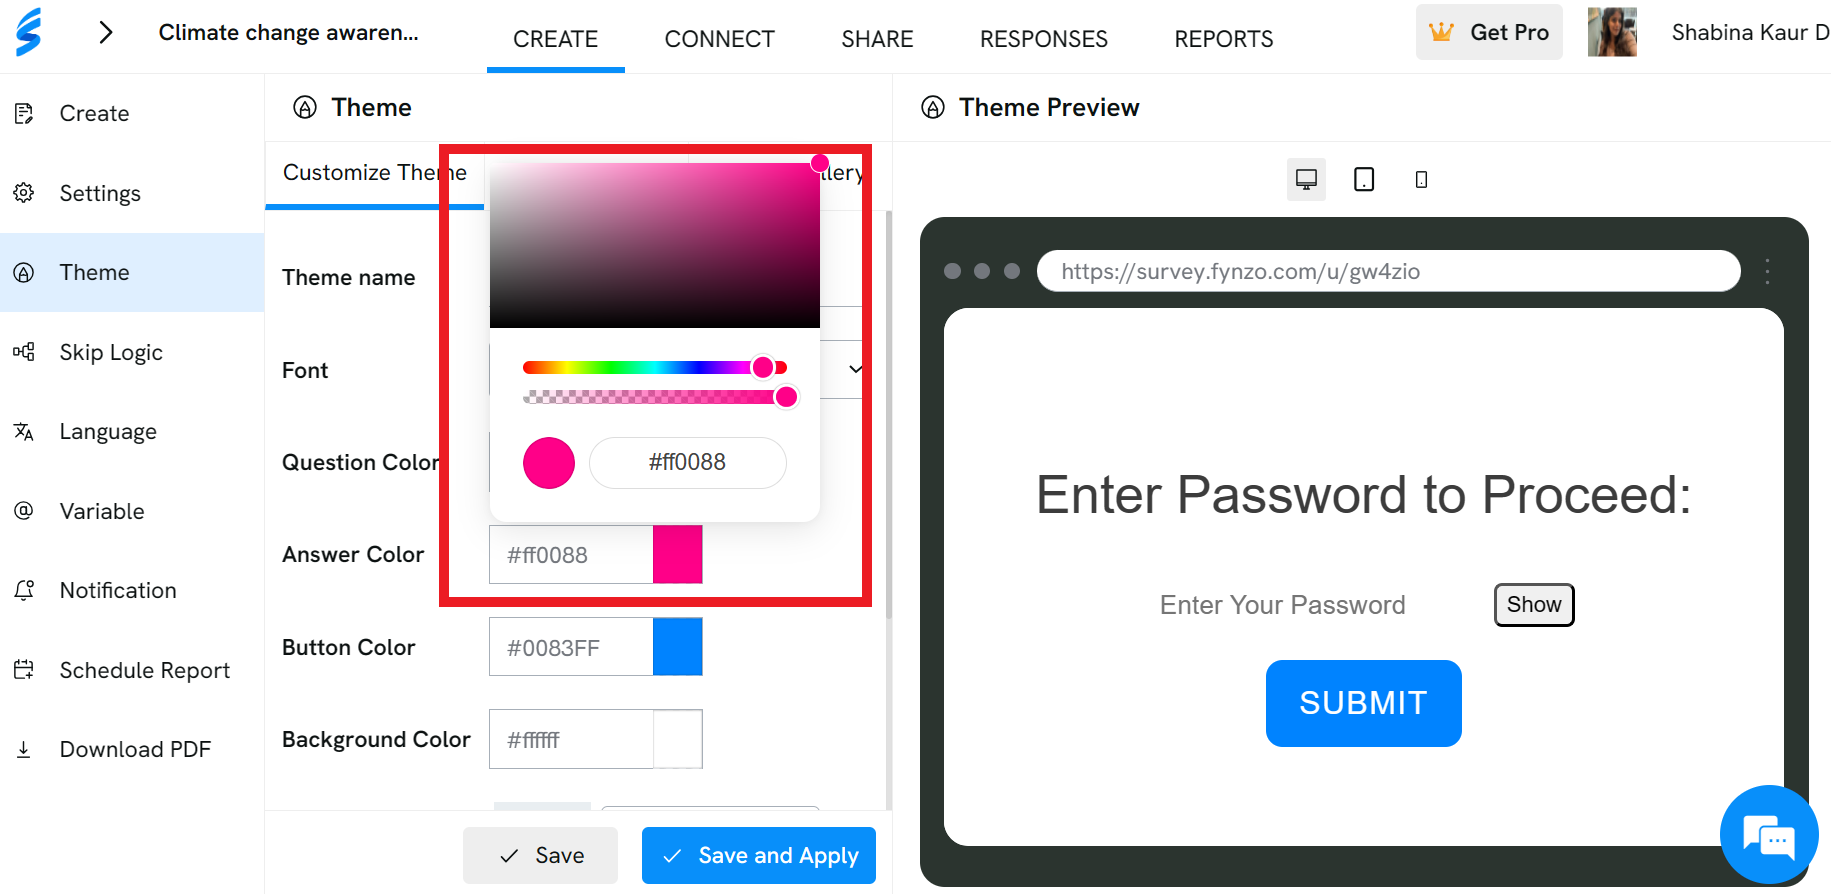
Answer Color
You can select any Answer Color from the given color options.
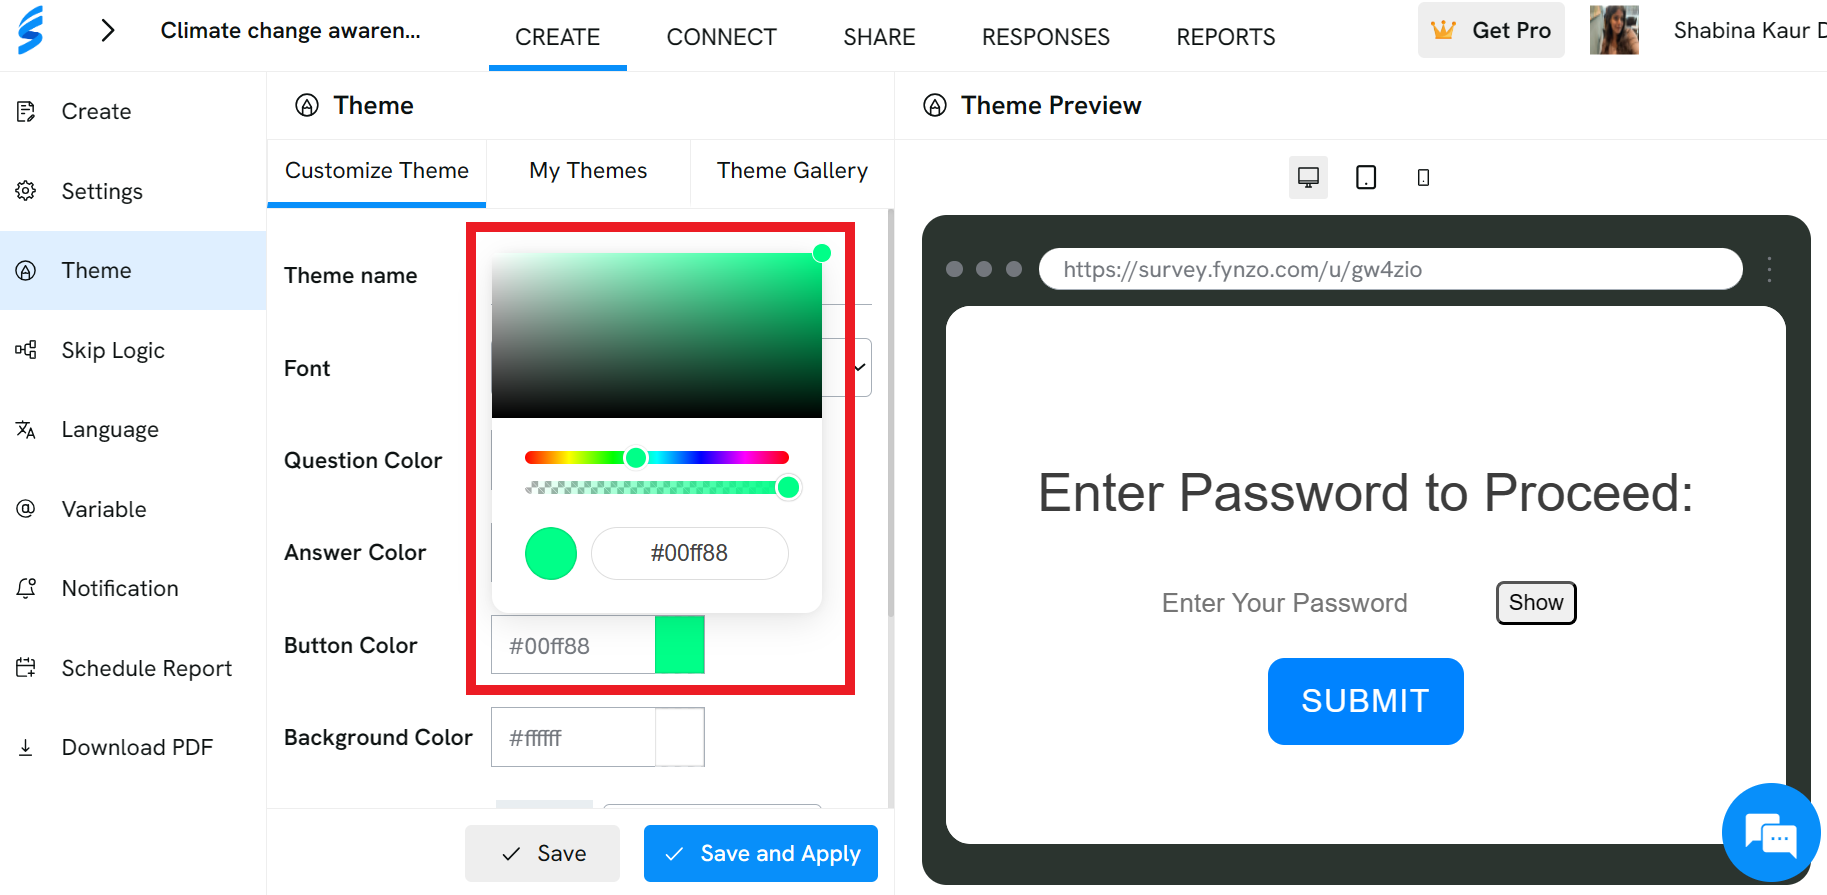
Button Color
You can select any Button Color from the given color options.
Background Color
You can select any Background Color from the given color options.
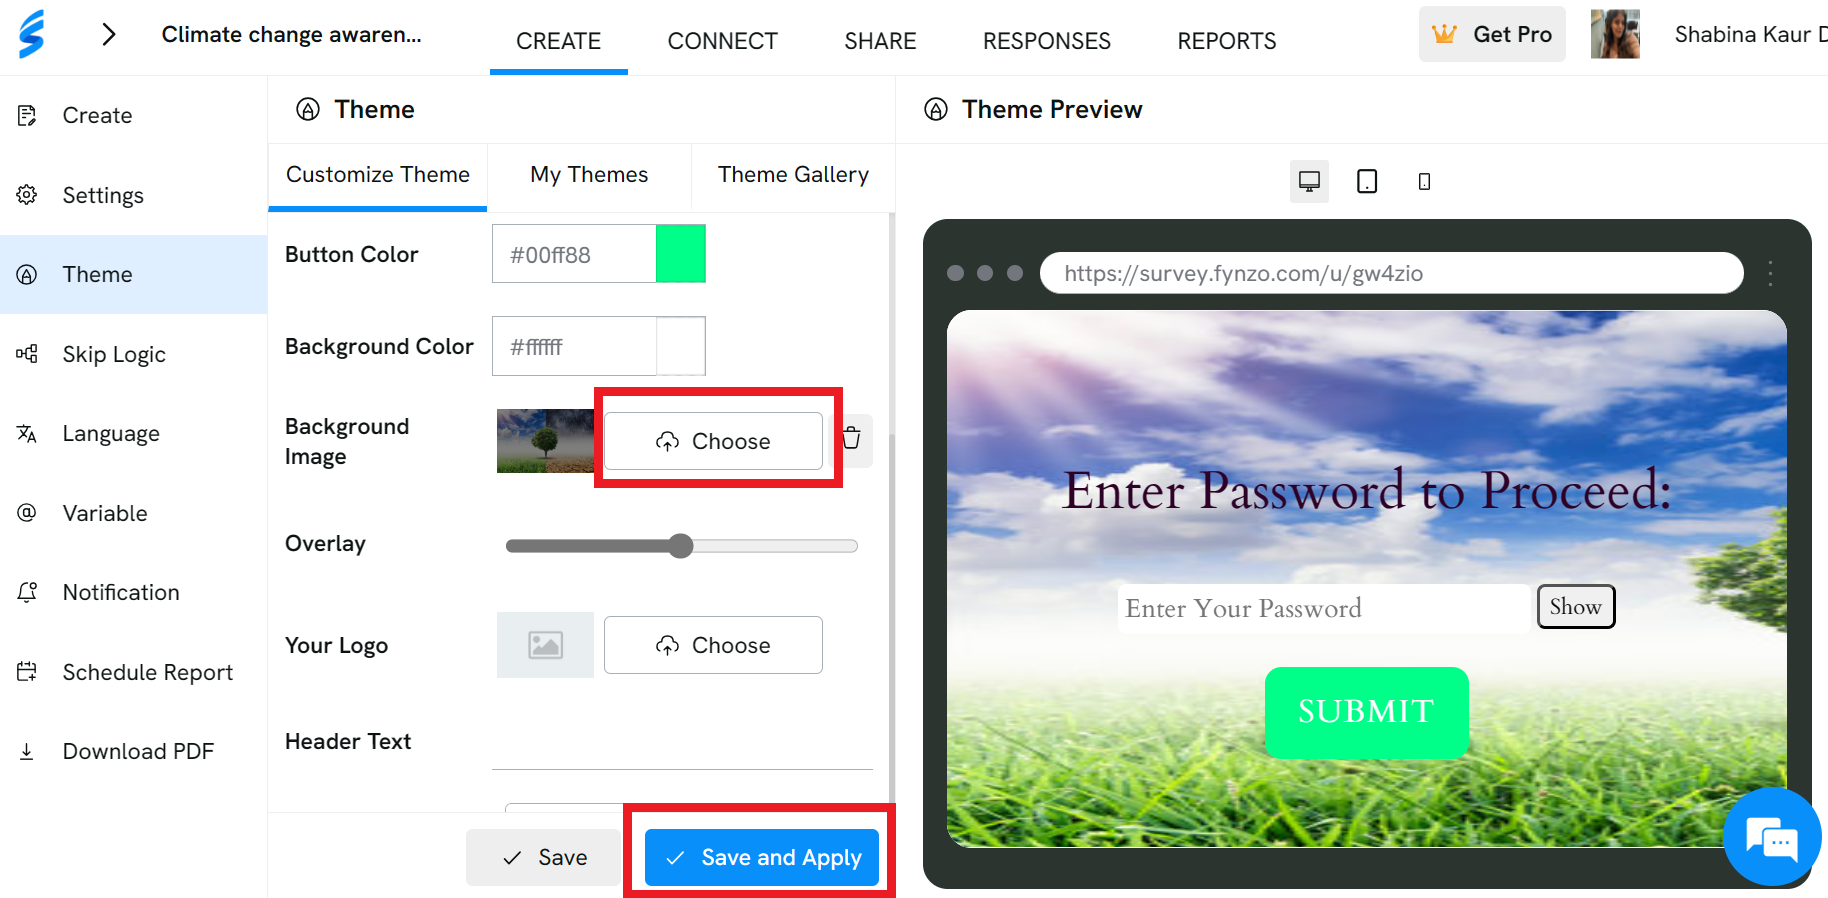
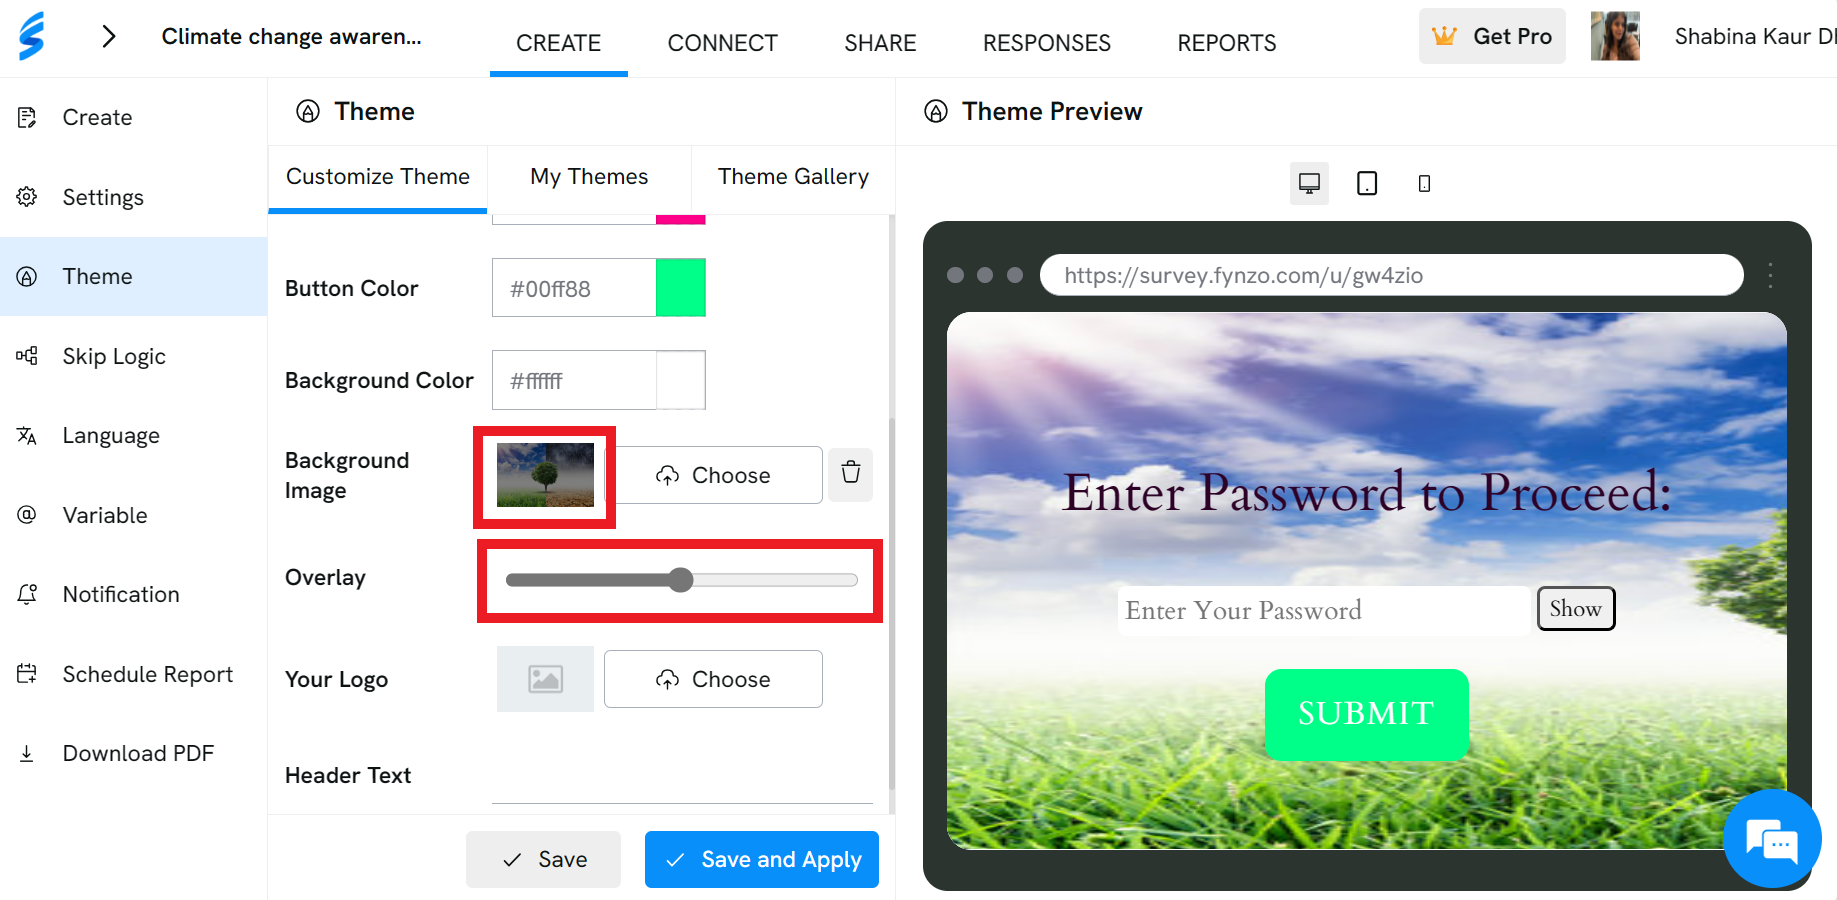
Background Image
You can upload any Background Image by using the option 'Choose' as shown. Click on 'Save and Apply' to preview all the changes that you have done so far in the right hand side Theme Preview panel.
Fix Overlay
To adjust the Overlay between the background image and text, use the filter icon. You can preview the changes in the image above, as depicted in the picture below.
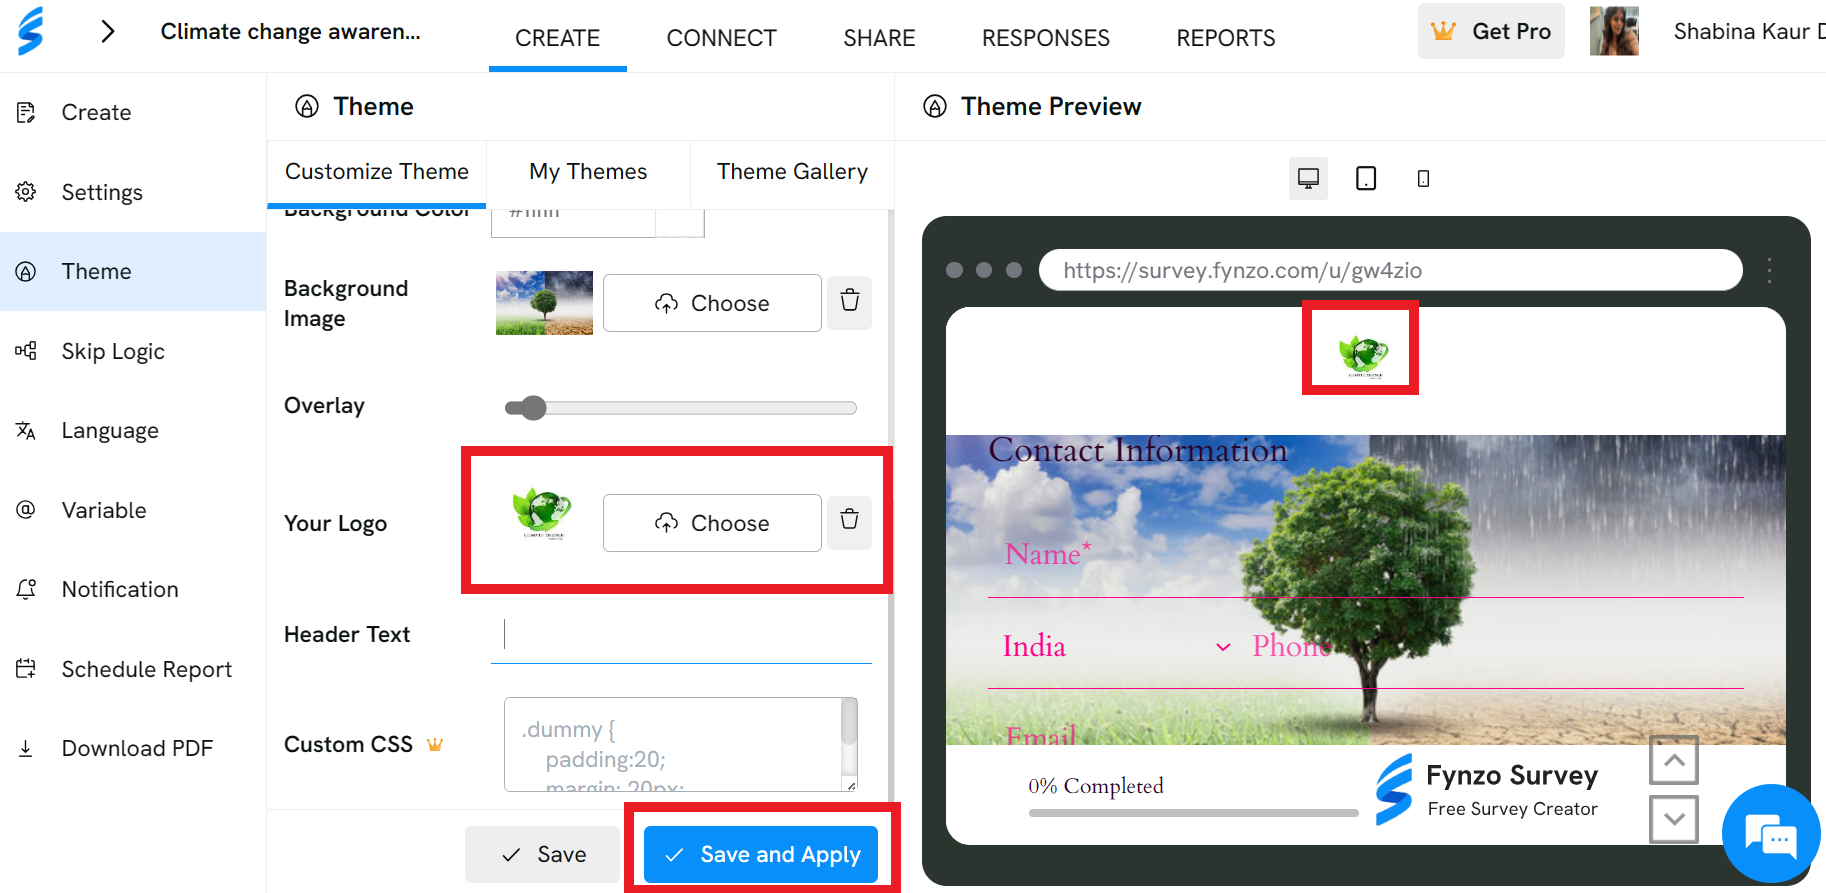
Logo
You can also upload the Logo of your organization or your survey by using the following option as shown. Don't forget to click 'Save and Apply' to preview the same in the Theme Preview in the right hand panel as shown.
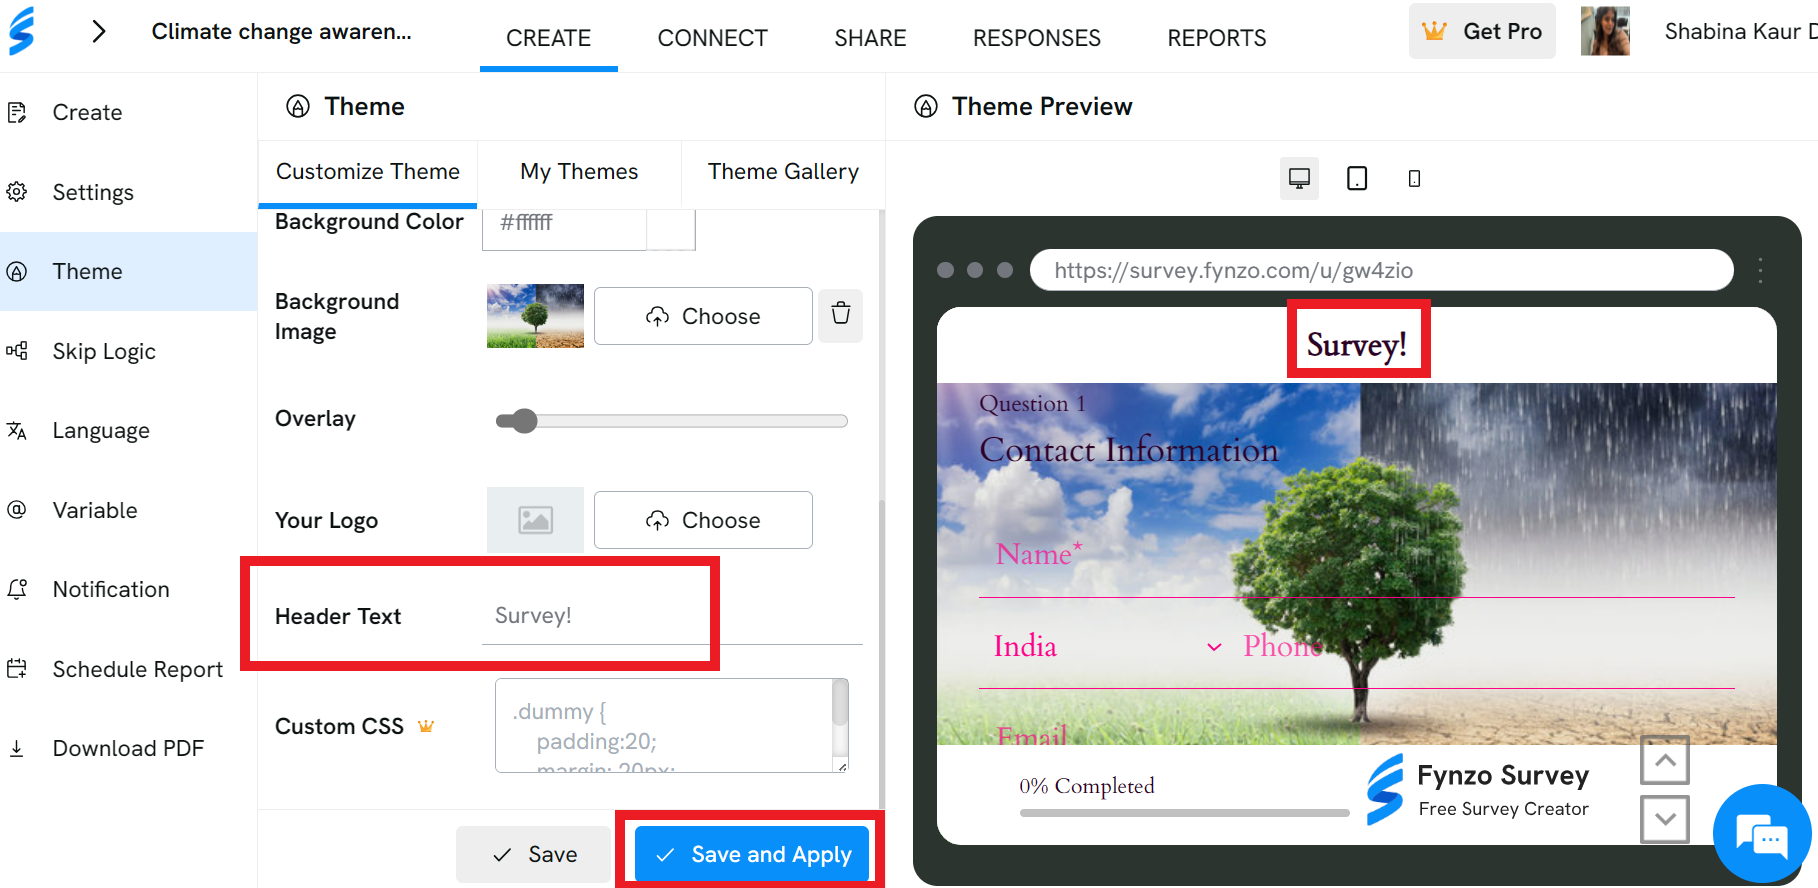
Header Text
You can also add a Header Text to your survey and preview the same in the right hand side panel under Theme Review after clicking 'Save and Apply'.
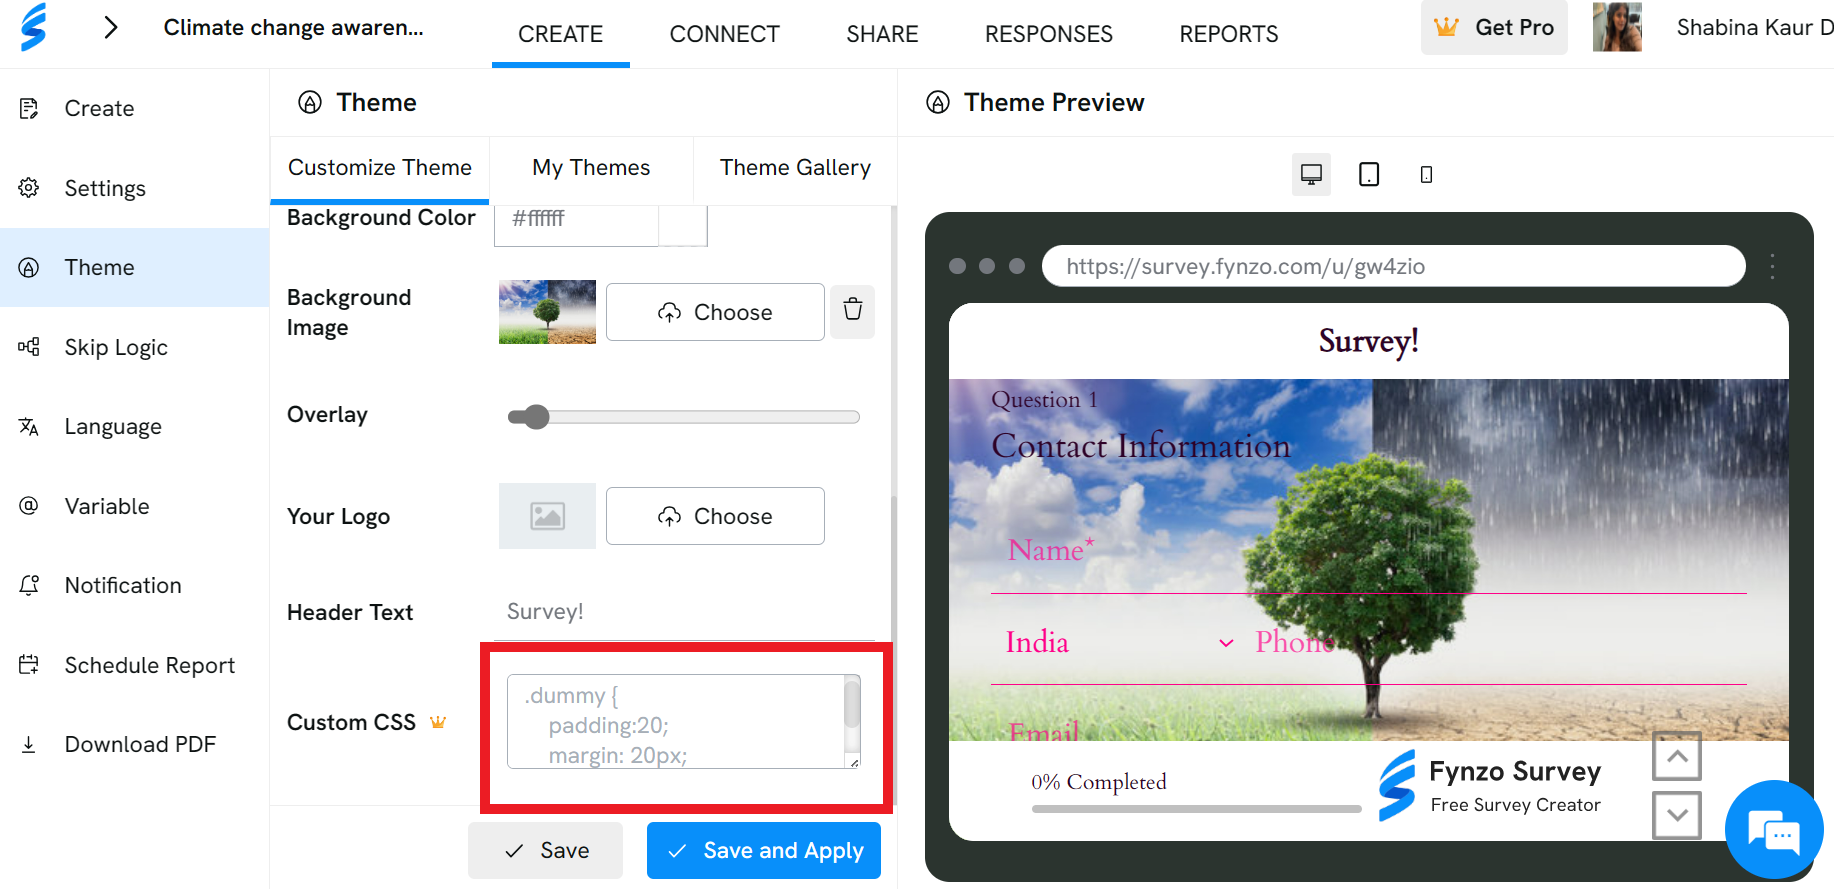
Custom CSS
Upgrade to a pro subscription to access advanced theme customization options. With the feature-Custom CSS, you can go beyond the available options mentioned above. You'll be able to remove, change color,size or add any tile or text according to your preferences.
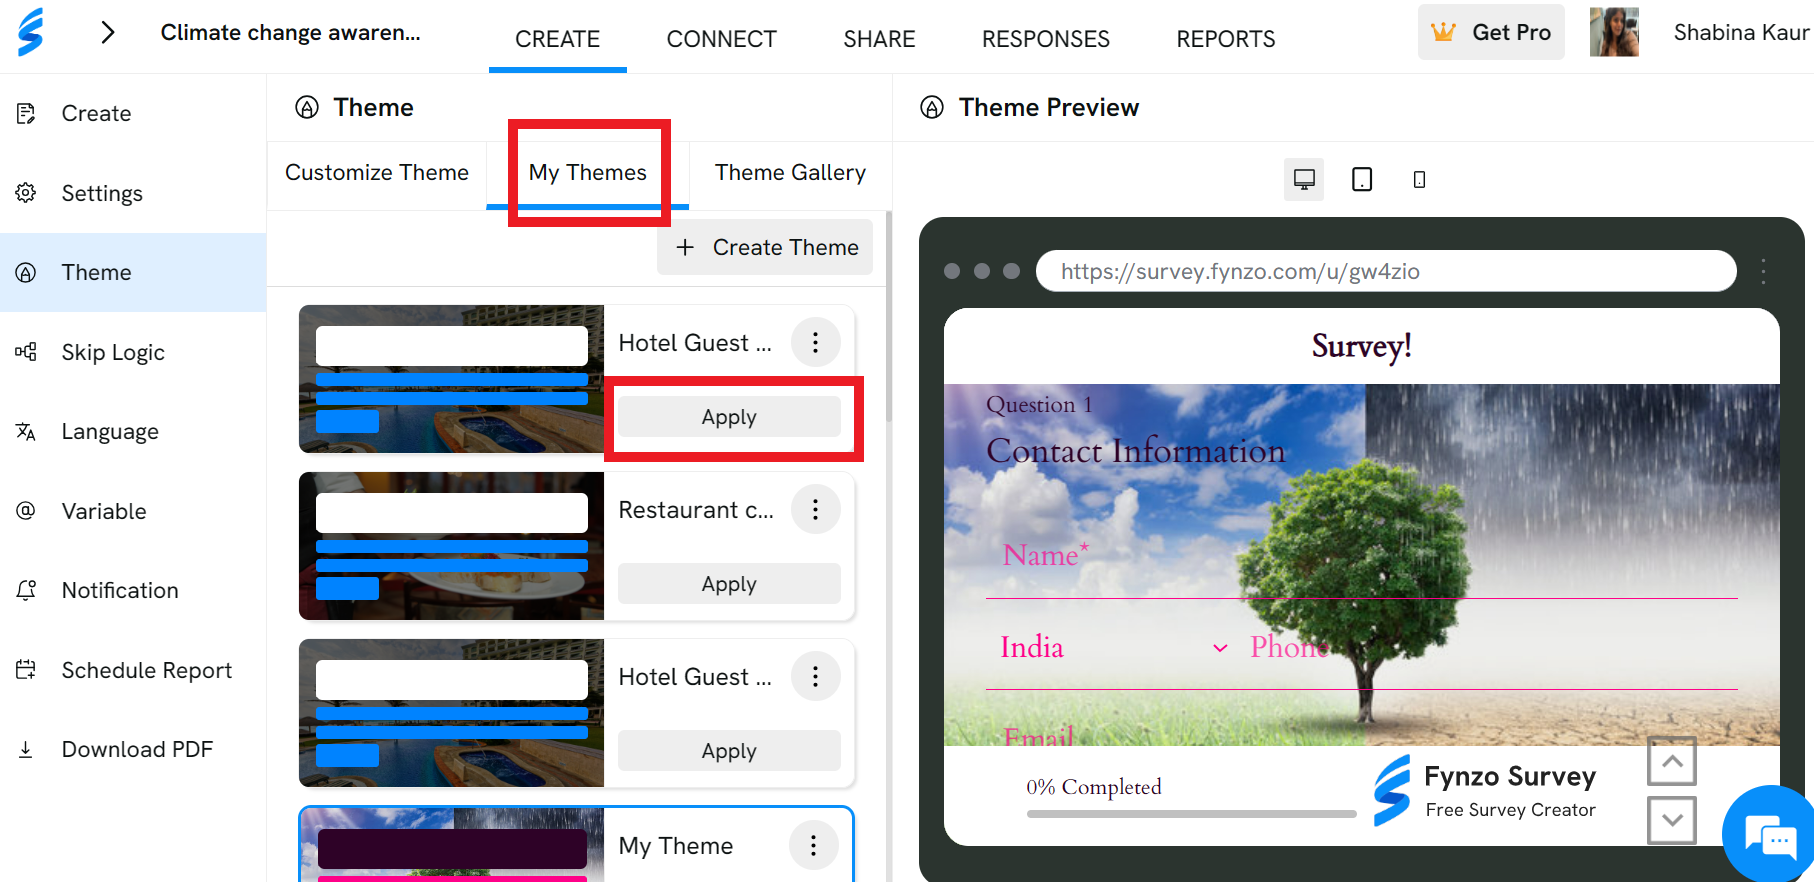
Review Your Themes
You can create unlimited themes and switch between them whenever you want. Just click on 'My Themes' to see all the themes your created. Choose one of them and click 'Apply' to use it.
Wrapping Up
Now that you've learned how to create custom themes, start crafting impressive themes for your survey according to your preferences. Enhance the survey experience for respondents with your personalized touch.
Related Articles
Get QR Code of your survey
Learn how you can get the QR code your survey using which the respondents can directly scan the QR Code and fill the survey. For example, in Hotels and Restaurants, QR Codea are quite relevant as you can simply put the QR Code on the counter and ask ...Survey Settings
Understand customizable Fynzo Survey settings that will assist you in getting the best survey experience and most insightful and valuable information from your target audience. Let's learn these one by one. Open Survey Settings Click on 'Settings' on ...Download survey in PDF format
Looking to preserve your survey form in a PDF format? Here's everything you need to know! With the convenient 'Download PDF' feature, you can easily secure a copy of your survey form. Just follow these simple steps. Click 'Download PDF' Simply click ...Survey Notification
You can configure notifications to receive alerts whenever a new response is submitted or when certain predefined conditions are met within the survey. This feature ensures that you stay informed and can take immediate action based on the responses ...Survey Language
If you want to show your survey to the respondent in multiple langauges ,this article will be helpful to you. With Fynzo Survey, you can do survey in multiple languages. Create survey in one language (Default language) and translate it to multiple ...